Troubleshooting and Repair Tips - Symptom -
Won't drain
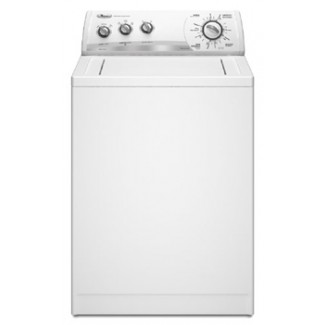
A washer that won't drain could have a bad lid switch or pump. A lid switch on many washer - such as Whirlpool - need to function in order for them to drain. If the switch is bad - then the pump won't start. Lid switches are commonly found on top of a top-load washer. They can be tested by listening for a (click) when you slowly close the lid. This holds true for washers with mechanical lid switches that are visible on top of the washer. Usually, there is a plunger on the washer lid that comes down to activate the switch. If the switch does not click, then the switch is usually bad. Many times, however, a no-drain symptom is simply caused by a bad or clogged pump. More times than not, just removing the debris from the pump will fix the issue. Some common brand and model specific repair scenarios are described below:
No Drain - Often caused by Lid Switch. Whirlpool Top Load washer with lid switch on the right side that has a plunger on the lid that depresses the switch. If the lid switch does not make an audiable click when the lid is slowly closed, then it likely needs to be replaced. (common part number 3499247 - but there are other less common lid switch part numbers - so you'll want to verify the part number based on the washer model number).
-Unplug washer.
-Look for screws on the right and left side bottom of the console. They are either in the front or the back.
-If the screws are not visible, you may have trim on the right and left that can be removed by grabbing top and pulling forward - sometimes a screwdriver is necessary to dislodge the trim.
-If there is no removeable trim on the right and left of the console - and no screws are visible you may need to use a putty knife.
-For the putty knife released console, slide putty knife under the right and left front of the console to release, being careful not to lose the retaining clips when you lift the console.
-Remove the screws from the bottom of the console for whatever console version this is.
-Tilt console back.
-Remove the lid switch connector right under the console - it is identified by the connector that goes right through the washer top.
-Use a screwdriver to remove the two brass clips that hold the washer front to the back.
-Pull the front of the washer forward and lay down on the floor - to expose the lid switch underneath.
-Remove the lid switch using a 5/16" nut driver for the ground and a phillips head screwdriver for the switch.
-Replace the lid switch with the new one.
.
-Reassemble washer in reverse order as described being careful to properly align the body of the washer with the frame and back .
|
 |