Troubleshooting and Repair Tips - Symptom -
Loud Noise
Electric dryer with a loud noise would primarily the result of bad bearings or a bad idler assembly. The bearings in most dryers are not normally what people envision them to be. They are often rollers that the drum rests on, a slot in the back of the dryer, or often nylon slides or felt that the drum slides on. Drum rollers often get noisy when the the bushing at the center of the roller rounds out and causes it to wobble. It is best to replace all of the rollers if this happens - as the others are likely not far behind. Some drums have a ball in the back cente that rests in a cup. This cup can become worn or dry out. GE and Frigidaire dryers, primarily, have nylon slides that the drum rests on - that become worn and cause squeaking sounds. Repairs for the most common such scenario are described below.
Some common bearing inspection and replacement scenarios are as follows:
Whirlpool Electric Dryer with lint screen on top right.(drum bearing(s) part number 349241T)
-Unplug dryer.
-Pull out the lint filter on the top right of the dryer.
-Remove the two screw that hold the top of the dryer to the lint filter housing.
-Pull the top of the dryer forward to release from the two front retaining clips.
-Lift the top of the dryer from the front.
-Disconnect the door switch connector on the right.
-Locate the two screws - one on each side inside the dryer that hold the front on.
-Remove the two screws.
-Pull the front of the dryer forward and lift up.
-Reach under the drum to the right and put tension on the idler assembly and then remove belt.
-Grab the belt from the top of the drum to lift the drum out.
-Locate the two bearings (rollers) and spin them to test.
-Rollers should spin freely and quietly - replace them if not.
-Reassemble dryer in reverse order as described.
GE Electric Dryer (drum bearing part number WE03X20570 (formerly WE3M26), slide part number WE1M1067, felt seal part number WE09X20441)
-Unplug the dryer
-Remove the top by taking out the two screws at the inner top of the door frame.
-Remove the two screws that hold the front of the dryer on. They are visible from the inside top of the dryer and looking down at the door.
-Remove the front of the dryer by pulling the front down and lifting it off of the clips at the bottom.
-Observe the 4 slides at the top of the upper front bearing on the dryer front. If only they are worn and not the bearing as well, replace them by peeling them out and placing the new ones by putting the peg in the slide hole and inserting the other side of the slide into the slot.
-If the upper front bearing (plastic housing beneath the slides) is damaged, it needs to be replaced first.
-If needed, to replace the bearing, kneel in front of the inside front panel, remove the light bulb if present, pull the top of the bearing toward you, and pull up to remove.
-Put the new bearing in in the opposite fashion and replace the bulb if present.
-Put the new slides in the new bearing if replacing the bearing.
-Observe the felt seal at the bottom of the front panel. If it is damaged it will need to be replaced.
-If needed, remove the old felt seal by peeling it out.
-Insert the new seal by allowing 4 inches of it to hang over the right side of the bearing, and then pushing it into the lower bearing. It should be inserted in such a way as to let the bottom of the drum to rest on it.
-Put the front panel back on in reverse order as described, and then test the dryer.
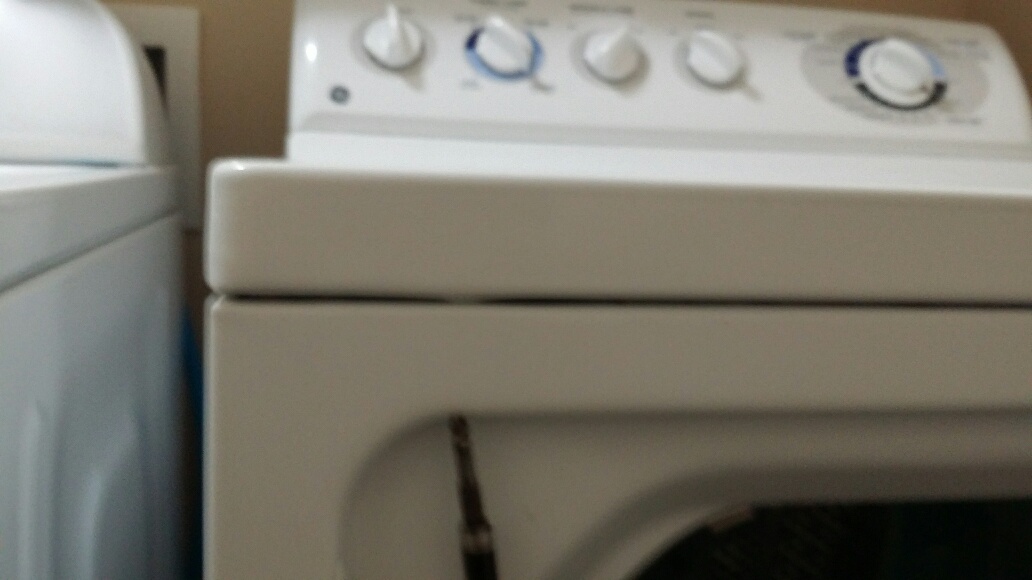 GE Electric Dryer Front Panel Removal
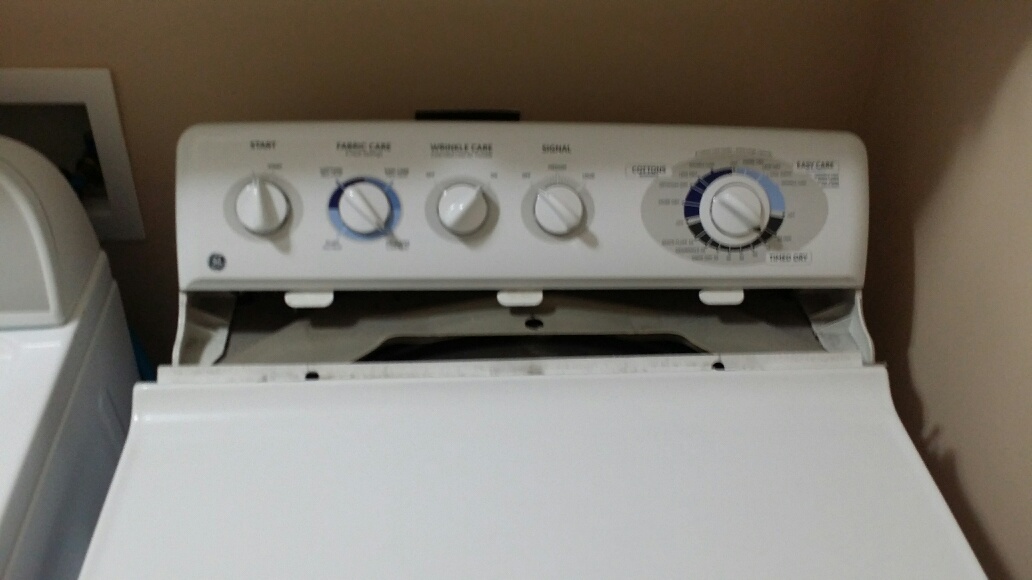 GE Electric Dryer Front Top Removal
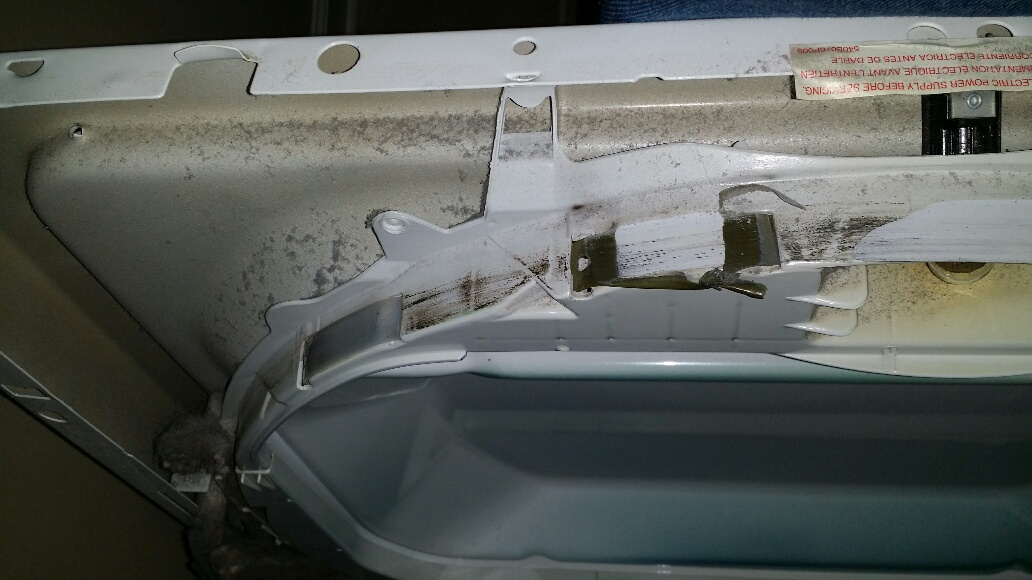 GE Electric Dryer Worn Front Bearing
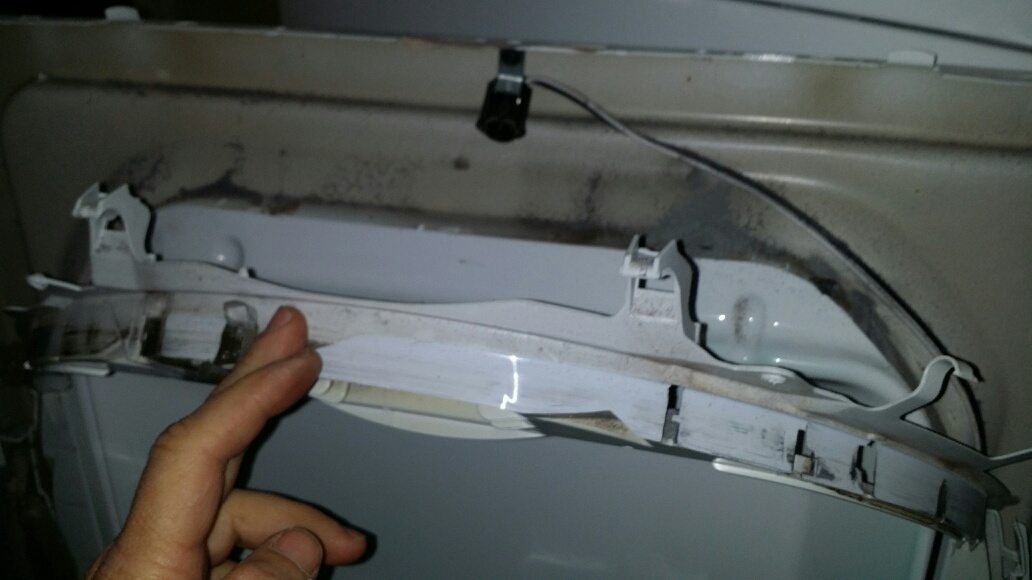 GE Electric Dryer Front Bearing Removal
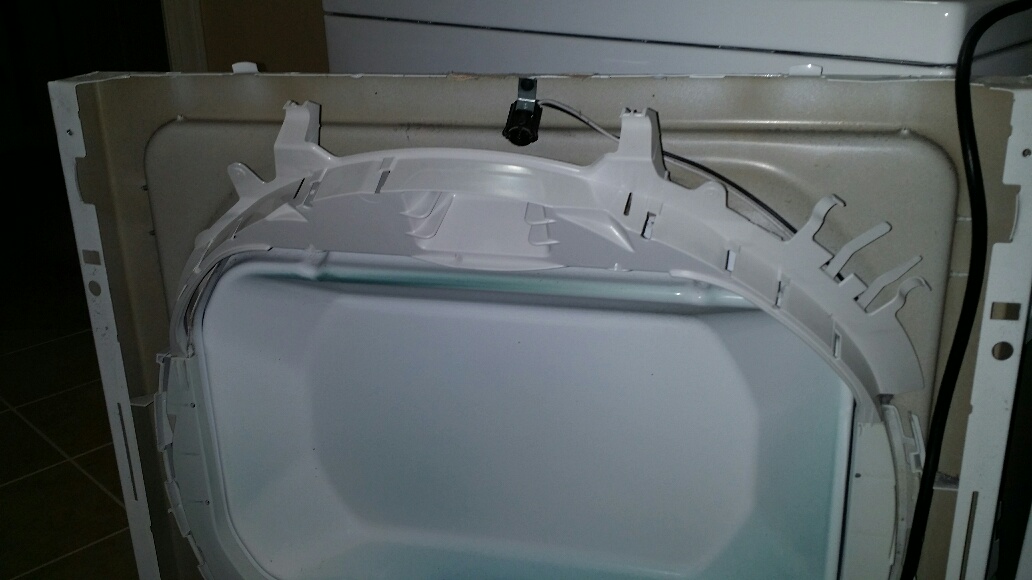 GE Electric Dryer Front Bearing Installation
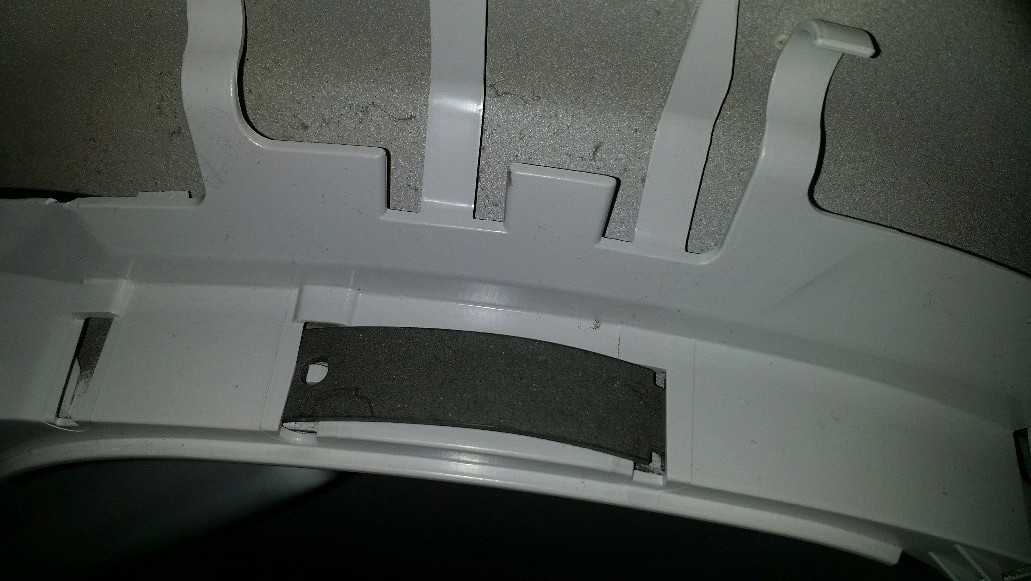 GE Electric Dryer Bearing Slide Installation
|
 |
